Adventures in Baking: Extreme Baking Edition No. 3
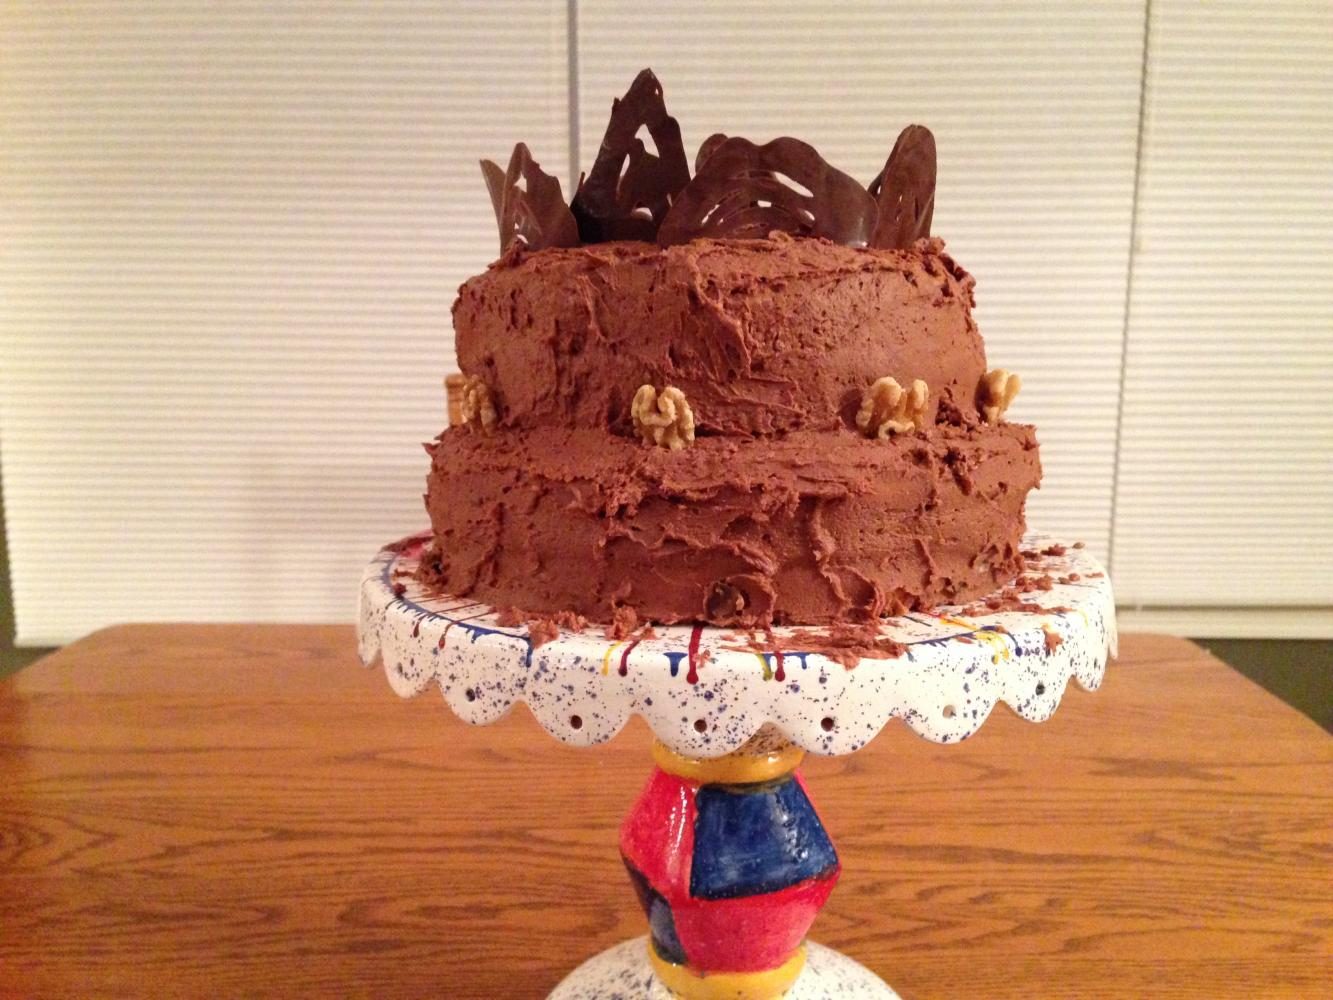
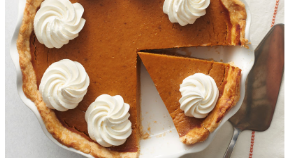
The finished cake
The graduation of Glenbard West’s class of 2017 is only one month away! Such a momentous occasion often merits parties, barbecues, and (of course) dessert! For those of you who wish to create an unforgettable dessert centerpiece, this Graduation Cake recipe review is for you.
I decided to make a two-tiered graduation cake using a combination of recipes. The amazing element of this is that a cake is endlessly customizable. While I used yellow and white cakes, chocolate buttercream, espresso buttercream, and tempered chocolate, other options include chocolate cakes, whipped creams, fruit curds, caramel fillings, and royal icing toppings. Reputable sources for the basic elements – cake, frosting, and filling – will be included at the end of the review.
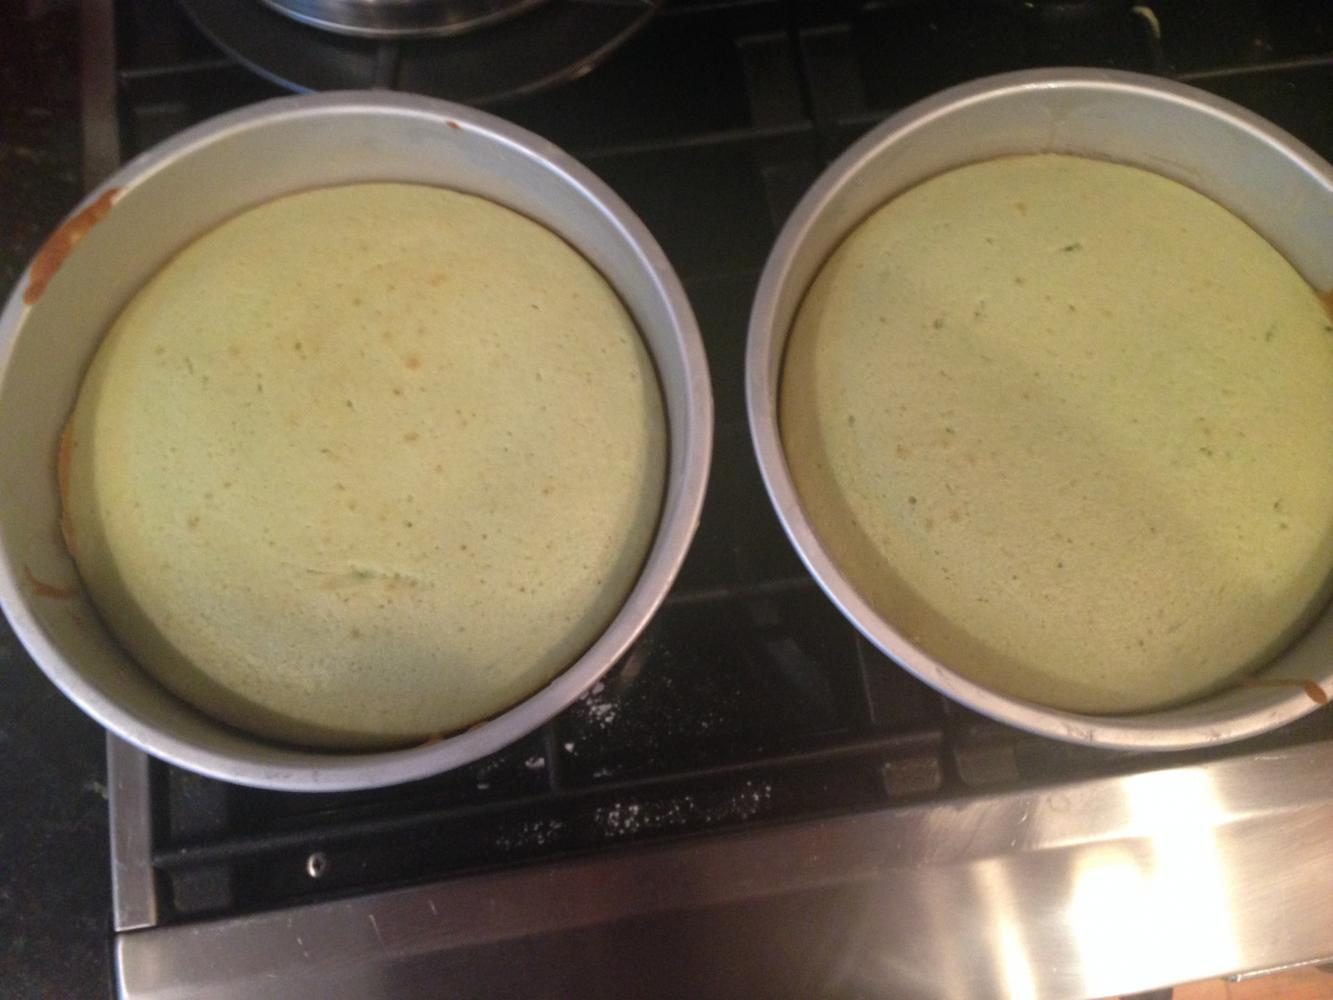
First, I made the two cakes. Here, you may pause and wonder, “Two cakes?” Yes, two cakes. This is because the recipe for the yellow cake required no less than eight egg yolks. As an ingredient conservationist, I didn’t want to use sixteen eggs and wonder what to do with sixteen egg whites. Instead, I made one yellow cake recipe and one white cake recipe, because the white cake uses six egg whites, and the leftover two can be used to make meringues.
The cakes were easy to make and easy to bake, with good flavor and a nice texture. A pro tip, however: don’t set your timer for the specified baking time. Ovens can run hot or cold compared to the oven used by the recipe’s author, so as a general practice I recommend reducing the suggested baking time by five to ten minutes to ensure that your cakes (and other baked goods) aren’t overbaked. Toothpicks can (and should) be inserted into the cake’s center to check for raw dough.
After I took the cakes out of the pans and started cooling them, I made the chocolate buttercream. I used a single recipe, which proved a mistake–I ended up needing double what I’d made. This may sound like a quick fix – just make another recipe! However, you can end up with two-tone buttercream on your cake, where one is a lighter shade of brown than the other. To fix this, compare shades and keep adding more melted chocolate to the second batch until the colors match. I did this and the final product was an even color despite making two separate batches of frosting.
The buttercream was sweet and delicious, as always, and richly chocolate-y (because, as a chocoholic, I added double the amount specified). I then made the espresso buttercream in the same fashion, except I added instant coffee instead of chocolate. After slicing the domes off the cakes, I spread an even layer inside each tier before placing the second yellow cake layer on the first yellow cake layer and the second white cake layer on the first white cake layer.
Next, I lifted my bottom tier onto the cake stand using my hands. (If you have a large enough spatula, I recommend that instead, but if all else fails, your hands will do.) Frosting mania ensued, and after the first tier was covered in chocolate buttercream, I placed the second tier on top and then smothered that, too, with chocolate deliciousness.
Finally, the basic cake was assembled. For decoration, I melted good tempering chocolate (Ghirardelli’s Bittersweet Chocolate Chips and Trader Joe’s Pound Plus are my personal favorites) in the microwave and then spooned the chocolate into shapes. After letting the chocolate set, I pushed the candy into the tops for a quick, easy, and neat decoration.
The cake was done! I stole a slice and tried a forkful of the whole dessert, and it was amazing! (Of course, it contained tons of sugar.) I recommend both cake recipes and both buttercream recipes for any baker, as this requires only basic mixing and frosting techniques (and steady hands, but that’s an acquired skill). Have fun customizing, baking, and assembling your graduation dessert masterpiece!
The Recipes:
Yellow Cake from Mark Bittman’s How to Bake Everything:
Ingredients:
- 1¼ sticks butter, softened, plus more for greasing
- 2 cups cake or all-purpose flour, plus more for dusting
- 2½ teaspoons baking powder
- ¼ teaspoon salt
- 1¼ cups sugar
- 8 egg yolks
- 2 teaspoons vanilla extract or 1 tablespoon grated or minced orange zest
- ¼ teaspoon almond extract (optional)
- ¾ cup milk
- Heat the oven to 350℉. Grease and flour the bottom and sides of two 9-inch or three 8-inch layer cake pans or a 13 x 9-inch sheet cake pan.
- Whisk together the flour, baking powder, and salt in a medium bowl and set aside. Use an electric mixer to cream the butter until smooth, then gradually add the sugar. Beat until light in color and fluffy, 3 or 4 minutes. Beat in the yolks, one at a time, then add the vanilla or orange zest and the almond extract if you’re using it. Add the flour mixture to the egg mixture by hand, a little at a time, alternating with the milk. Stir just until smooth.
- Divide the batter evenly between the pans and bake until a toothpick inserted into the center of the cakes comes out clean or with a few moist crumbs, about 35 minutes for layers or about 25 minutes for a sheet cake. Let the cake cool in the pan for 5 minutes, run a knife around the edge of the cake to loosen it, then invert onto a rack to finish cooling.
- Frost or glaze if you like and store at room temperature. If you’re not frosting right away, you can wrap each layer tightly with plastic wrap and store at room temperature for up to 2 days or wrap in plastic wrap and foil and store in the freezer for up to a few months.
White Cake from Mark Bittman’s How to Bake Everything:
Ingredients:
- 1½ sticks butter, softened, plus more for greasing
- 2 cups cake or all-purpose flour, plus more for dusting
- 1 tablespoon baking powder
- ¾ teaspoon salt
- 1 cup sugar
- 6 egg whites
- 2 teaspoons vanilla extract
- 1 drop almond extract
- 1 cup whole milk
- Heat the oven to 350℉. Grease and flour the bottom and sides of two 9-inch or three 8-inch layer cake pans.
- Whisk together the flour, baking powder, and salt in a medium bowl and set aside. Use an electric mixer to cream the butter until smooth, then gradually add the sugar. Beat until light in color and fluffy, 4 or 5 minutes. Beat in the egg whites, one at a time, then add the vanilla and almond extracts. Add the flour mixture to the egg mixture by hand, a little at a time, alternating with the milk. Stir just until smooth.
- Divide the batter evenly between the pans and bake until a toothpick inserted into the center of the cakes comes out clean or with a few moist crumbs, about 25 minutes. Let the cakes cool in the pans for 5 minutes, then run a knife around the edge of the cakes and invert onto a rack to finish cooling.
- Frost or glaze if you like and store at room temperature. If you’re not frosting right away, you can wrap each layer tightly with plastic wrap and store at room temperature for up to 2 days or wrap in plastic wrap and foil and store in the freezer for up to a few months.
Chocolate Buttercream from Mark Bittman’s How to Bake Everything:
Ingredients:
- 2 ounces dark chocolate
- 1 stick unsalted butter, softened
- 4 cups confectioners’ sugar
- 6 tablespoons cream or milk, plus more if needed
- 1 teaspoon vanilla extract
- Pinch of salt
- Melt the chocolate over low heat in a double boiler or microwave; set aside to cool.
- Use an electric mixer or a fork to cream the butter. Gradually work in about half the sugar, then add the melted, cooled chocolate. Add the rest of the sugar ½ cup at a time, alternating with the cream and beating well after each addition, until it’s as sweet as you like (you might not use all 4 cups).
- Stir in the vanilla and salt. If the frosting is too thick to spread, add a little more cream, a teaspoon at a time. If it’s too thin (unlikely but possible), refrigerate; it will thicken as the butter hardens.
Espresso Variation: Omit the chocolate; beat 1 tablespoon instant espresso powder with the butter until smooth.
Note: for the chocolate buttercream I used 4 ounces dark chocolate. Also, if you’d like different frosting or fillings, I can recommend either buying this cookbook or looking at King Arthur Flour’s recipes at www.kingarthurflour.com.

Ellie is The Glen Bard's Editor-in-Chief and a senior at Glenbard West. This year is her third on the Editorial Board. She plays field hockey and chess,...